Within this section, users can effortlessly establish rosters by initiating the process with a simple click on the “Create” button, ensuring a streamlined and professional approach to roster management.
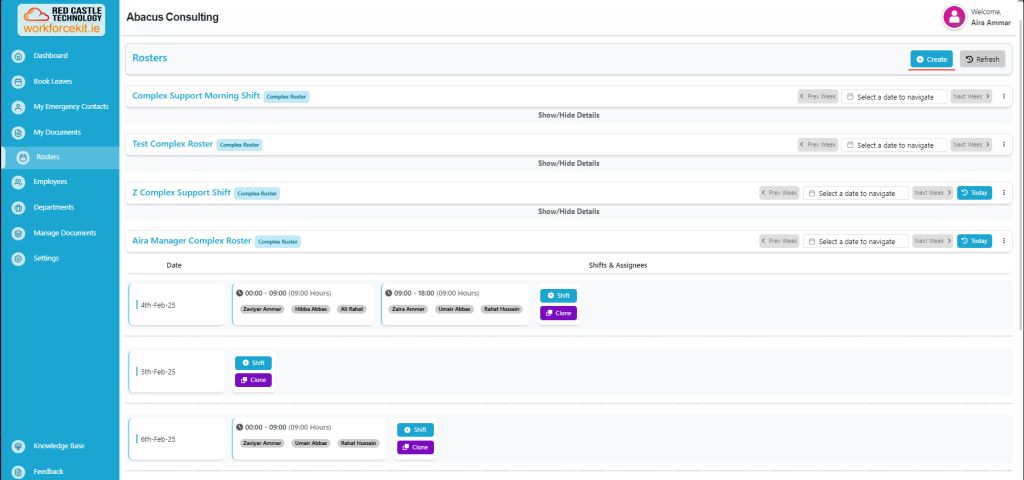
Users are required to select “Complex” option than input a “Name” for the roster, select the relevant “Department” from the activated options in the dropdown menu.
This systematic approach ensures professionalism and precision in roster management. Once all the required information has been accurately provided, users can complete the process by clicking on the “Save” button, finalizing the creation of a new Complex Roster. This method ensures a professional and well-structured approach to roster management.
Please review the screenshot for better understanding.

Now that we have successfully created a roster, let’s proceed to the next phase, where we will guide you through the process of adding employees to this roster in a professional and efficient manner.
Adding Employees in Roster
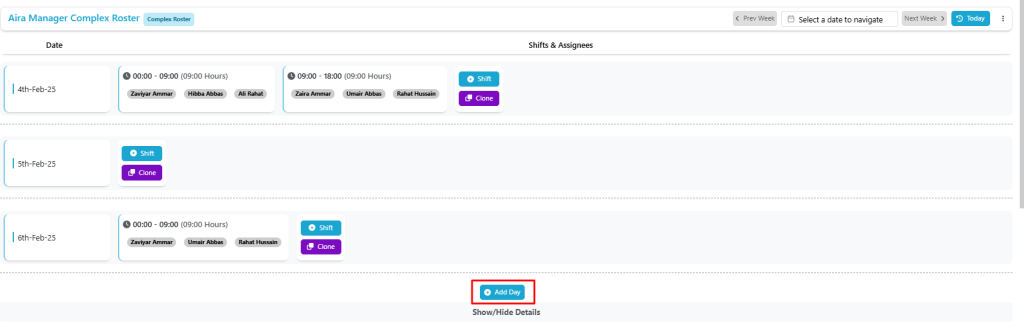
To initiate the employee addition process, users should start by selecting the “Add Row” button, ensuring a professional and organized approach to roster management.
In this step, users have the opportunity to view and manage the roster details efficiently. Here’s the process:
- Roster Date: You can add the roster date for reference.
- Mark as Holiday: In the second section, you can designate specific entries as holidays, ensuring precise scheduling.
- Shit Time: On first section, the user has access to add a shift time.
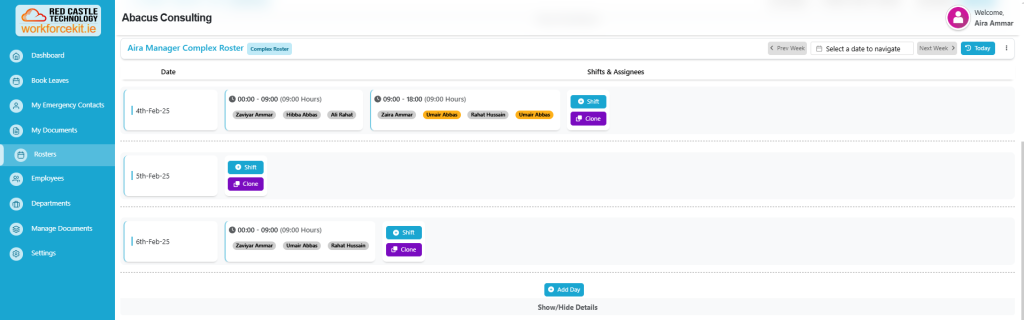
- Select Employees: In the following section, users have the option to select employees for the roster. In order to uphold precision, the system is designed to automatically highlight any duplicate selections in yellow. This feature serves to assist you in preventing redundant entries for the same date across different shifts, ensuring the accuracy and integrity of the roster.
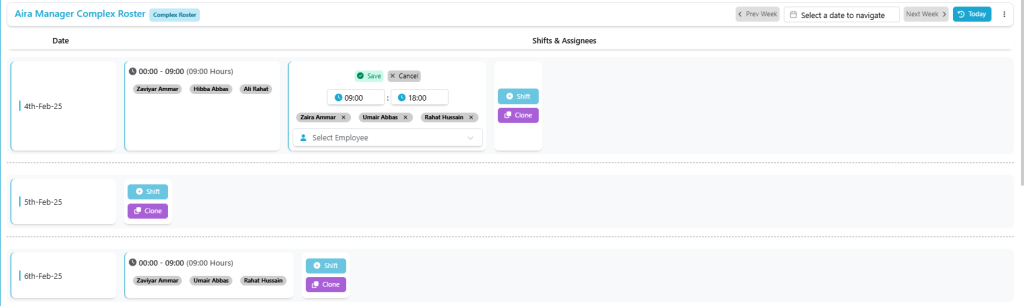
After meticulously filling in all the necessary details, simply click the “Save” button to preserve the shifts in the roster, ensuring a professional and well-organized approach to roster management.
For added convenience and efficiency, users have the option to clone an existing entry by simply clicking on the “Clone” button, enhancing the professional and time-saving aspects of roster management.
Furthermore, users retain the ability to edit the same roster by selecting the “Edit” button. Within this capability, you can make adjustments such as adding or removing employees and modifying the “Holiday” status. This functionality enhances the professional and flexible aspects of roster management, ensuring adaptability as business needs evolve.
Upon selecting the “Holiday” checkbox, an alert will promptly appear, seeking confirmation from the user regarding the designation of the chosen day as a holiday. For a clearer understanding, kindly refer to the attached screenshot. This ensures a deliberate and informed acknowledgment from the user before marking a specific day as a holiday.
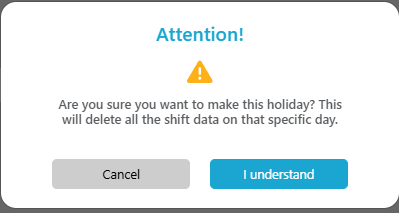
Note: This will delete all the created shifts data on that specific day. Also, if there is no shifts added on the specific date, the alert wont be appeared on the screen.